For : MEPIS Linux
by: je.saist
| Doom and Quake are not
all that ID software is known
for. The Wolfenstein games form an equally large part of the
ID
legacy. This guide focus's on the Multiplayer title,
Wolfenstein
Enemy Territory, a free expansion for RTCW. This guide will use both command prompt and GUI (graphic user interface) functions to install Enemy Territory. 1: The first step in getting Enemy Territory, is Finding Enemy territory. For now, lets start out with Planet Wolfenstein's page 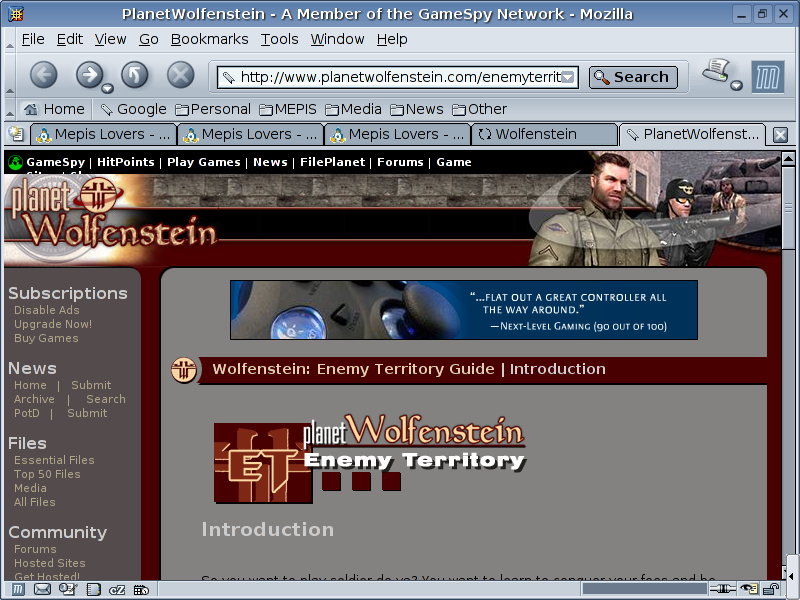 2: Go ahead and enter the Essential Files link  3: As we move down the page, the link to the Linux install file should appear. 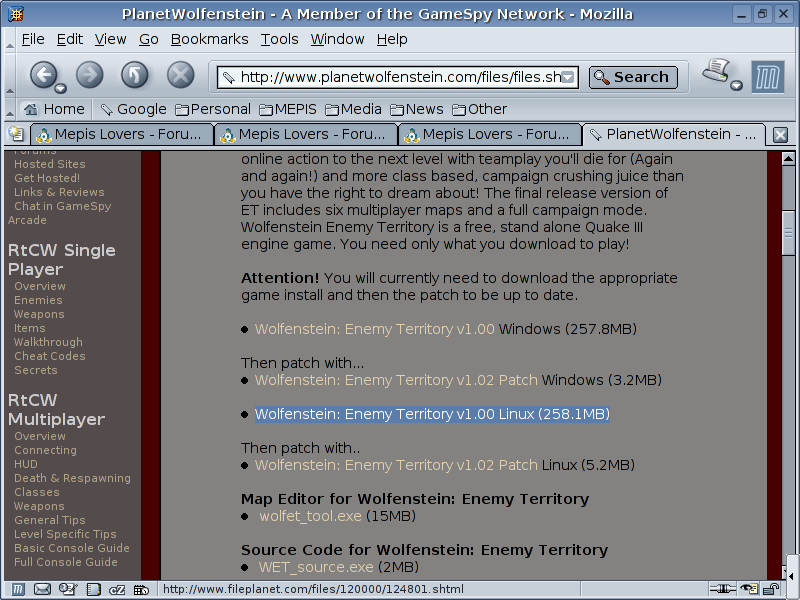 4: Once on Fileplanet, go ahead and download the Enemy Territory Client. 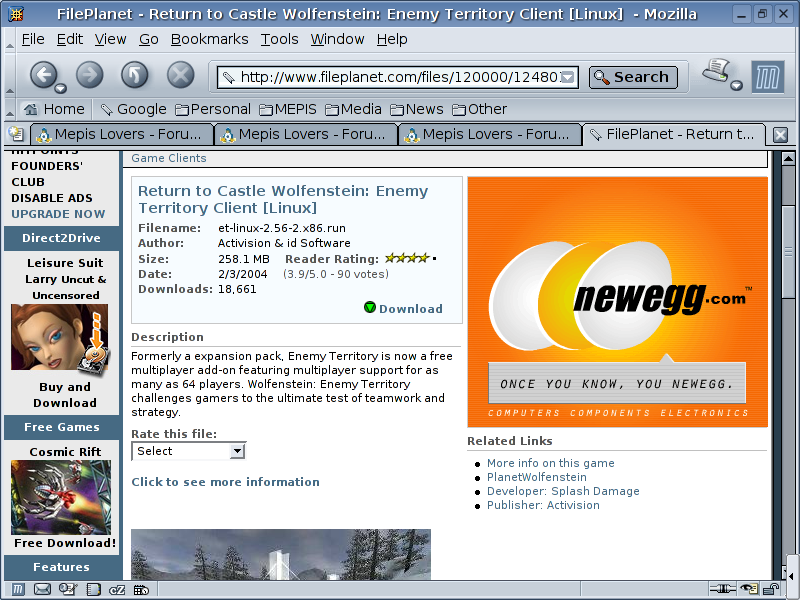 5: While suffering through the long wait to download the game client, return to the Planet Wolfenstein page and look for the Enemy Territory Patch.  6: At this point it is simply a matter of waiting on FilePlanet to make the downloads available. Also, doesn't look too much time was wasted as Q3A is getting a file workout. 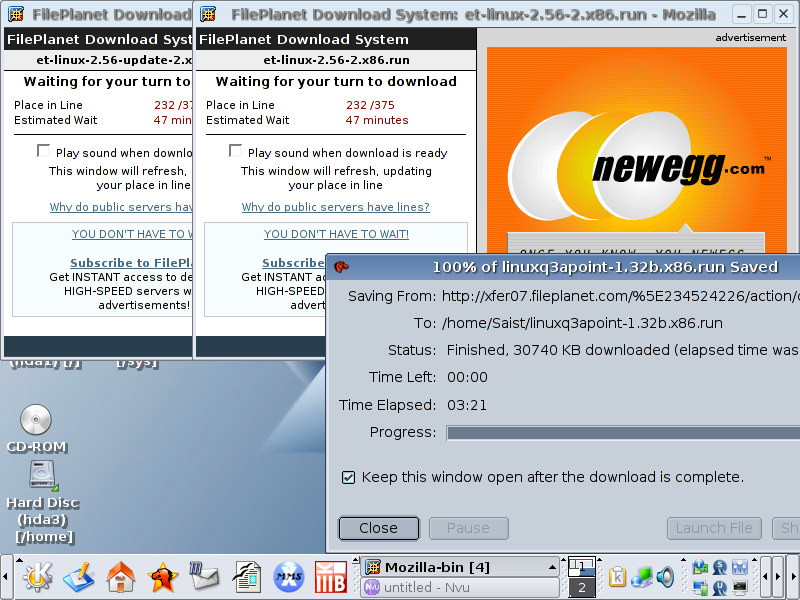 7: Whenever Fileplanet gets around to saying it is alright to download the files, simply save the files to the /home/(username) location. Mozilla defaults to this location.  8: Once the update file pops up 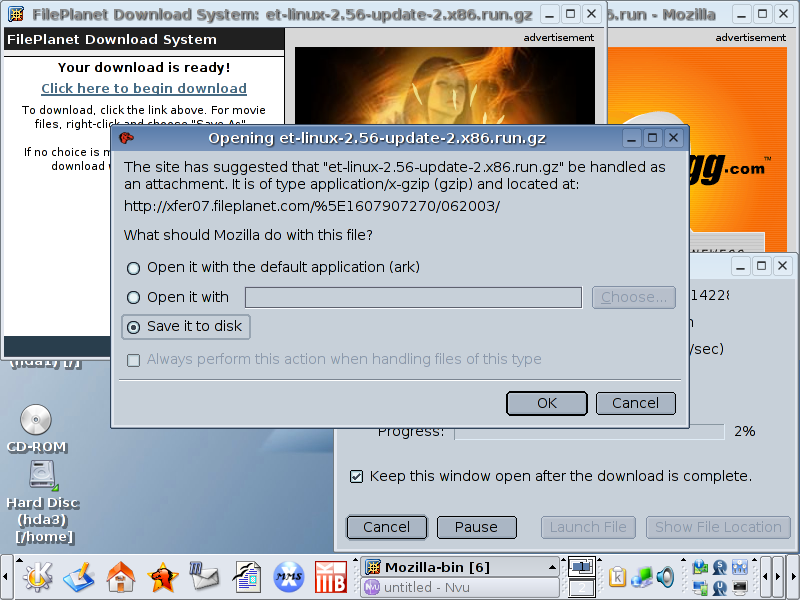 9: Save it to /home/(username) as well.  10: Now both files should be in the Personal Files folder. Go ahead and click on the file that is labeled et-linux-2.56-2.x86.run  11: After clicking on the run file, the Enemy Territory installer should pop up.  12: Enemy Territory should ask to switch to root. Do Not Switch. Go ahead and just hit Enter to remain in the User mode.  13: At this point the Enemy Territory installer will ask for a license agreement. Hit I agree  14: Hit I agree again to accept Punkbuster.  15: Enemy Territory defaulted to installing into the /home/(username) folder. If Enemy Territory has something else in the paths, simply set Install path: /home/(username)/enemy-territory Link Path: /home/(username) Then hit the Begin Install button.  16: Don't worry about text corruption during the install.  17: Now Enemy Territory has completed. Hit Exit  18: Now its time to look at the other downloaded file et-linux-2.56-update-2.x86.run.gz  19: Click on et-linux-2.56-update-2.x86.run.gz 20: Ark should open.  21: Click on the extract button.  22: Ark will probably be set to the last location it was used to download to. Hit the blue folder icon to open up the file browser and return to /home/(username) and then hit okay.  23: Now Ark's extract to line should read /home/(username)  24: Hit the ok button and wait for Ark to finish. Once the patch has been extracted, simply close the Ark program.  25: There should now be a file labeled et-linux-2.56-update-2.x86.run  26: Time to open up Konsole. Currently Konsole is in Most Used Applications. It is also under system in the K-menu  27: Once Konsole is open, type dir  28: The purpose of typing the directory command is simple. To make sure the file that is needed is in the folder Konsole is currently in. Type in :: sh et-linux-2.56-update-2.x86.run  29: The Update should open and ask to switch to root mode. DO NOT SWITCH. Hit Enter to continue the install in user mode.  30: A punkbuster agreement should appear. Hit i agree  31: Make sure the install path and link path are identical to the last time, then hit begin install  32: Once the install finishes, hit exit.  33: Go ahead and close Konsole.  34: Now to turn attention back to Personal Files which should have a new folder labeled Enemy-Territory inside. Open the folder.  35: Inside is a shell script labeled et. Go ahead and create a desktop link by dragging the file onto the desktop.  36: Choose link here on the release.  37: Now there is a desktop link. Does it work?  38: Get the frag on.   |